This post may contain affiliate links. Please read our disclosure policy.
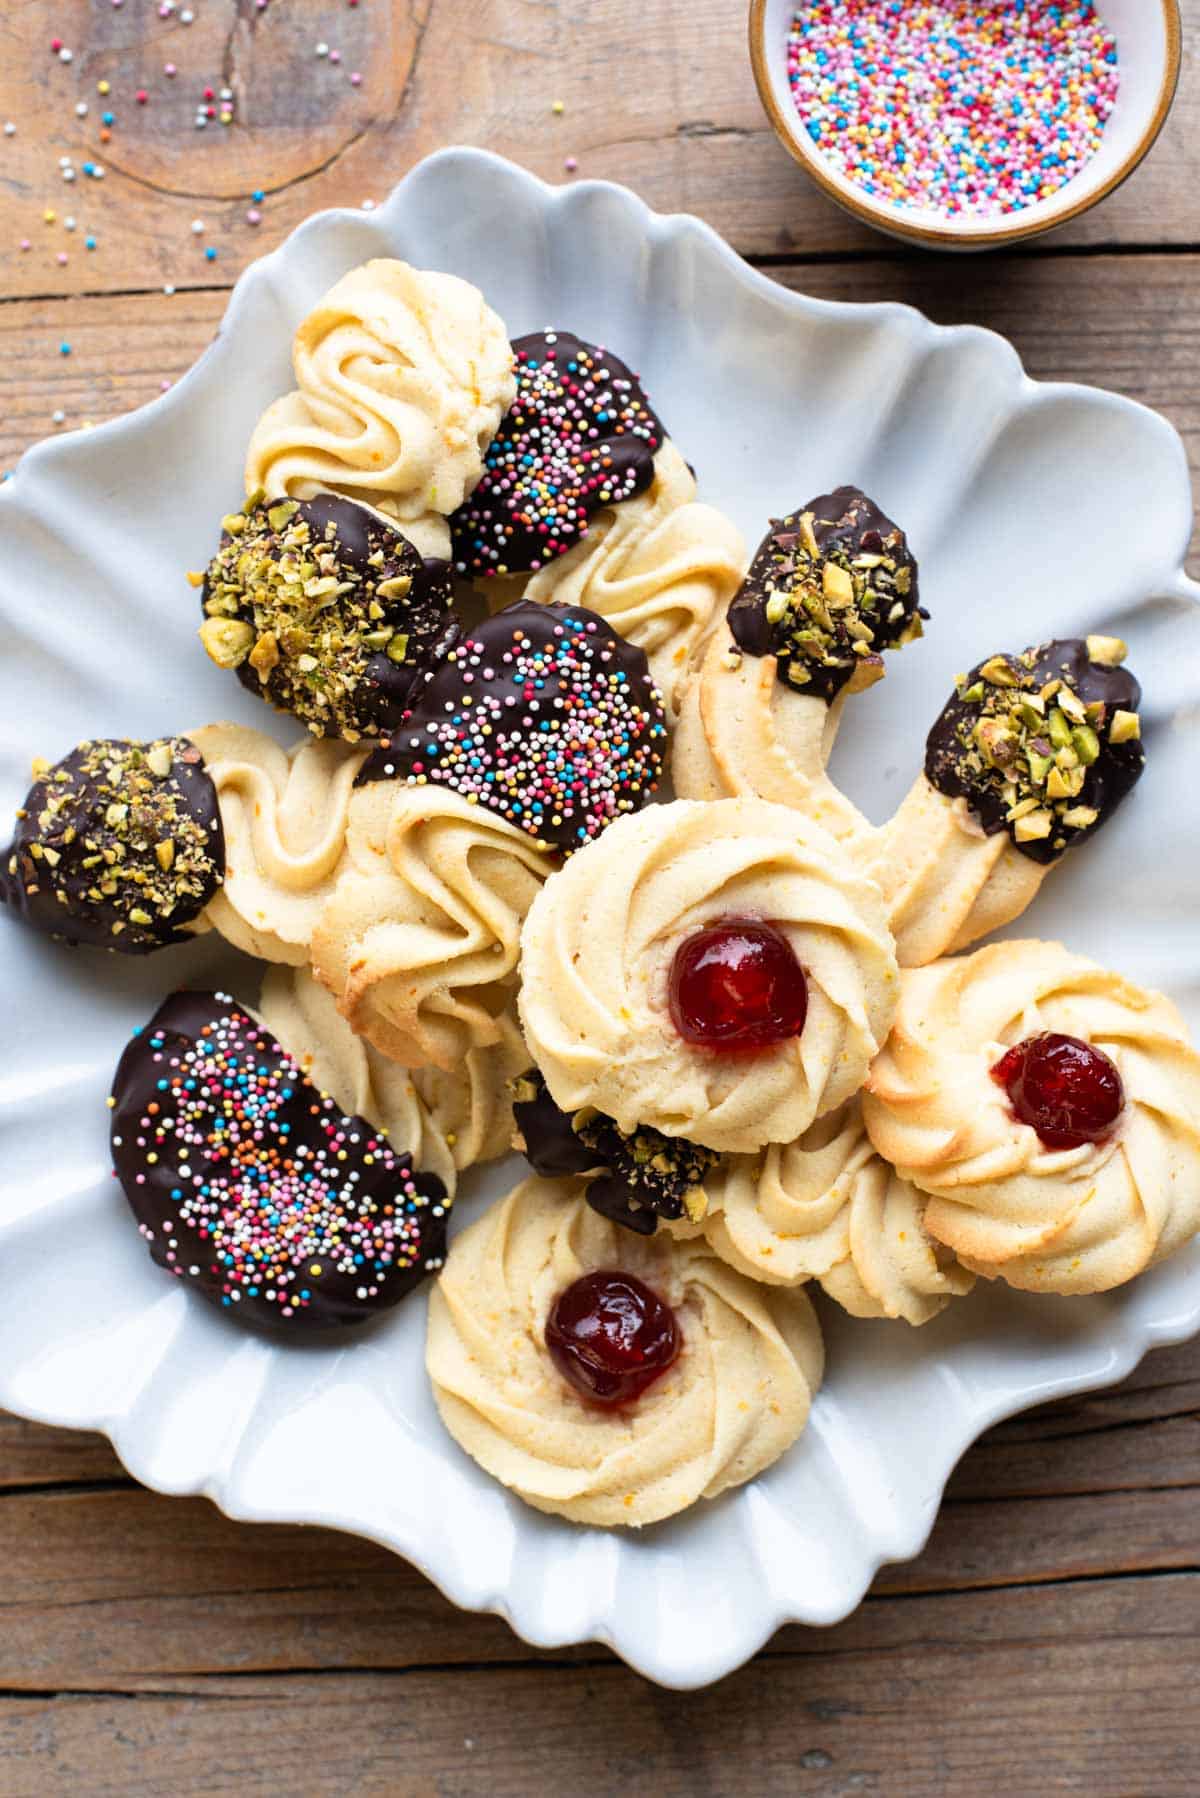
The most delicious, soft and buttery Italian Butter Cookies made with an Italian cookie dough called Pasta Frolla Montata. These cookies are super easy to make and can be made into many different shapes and sizes and decorated with candied fruit, melted chocolate and chopped nuts.
These Italian butter cookies are made with a cookie dough called Pasta Frolla Montata. It’s very similar to a classic Pasta Frolla dough except the softened butter is whipped with powdered sugar until light, fluffy and extra creamy.
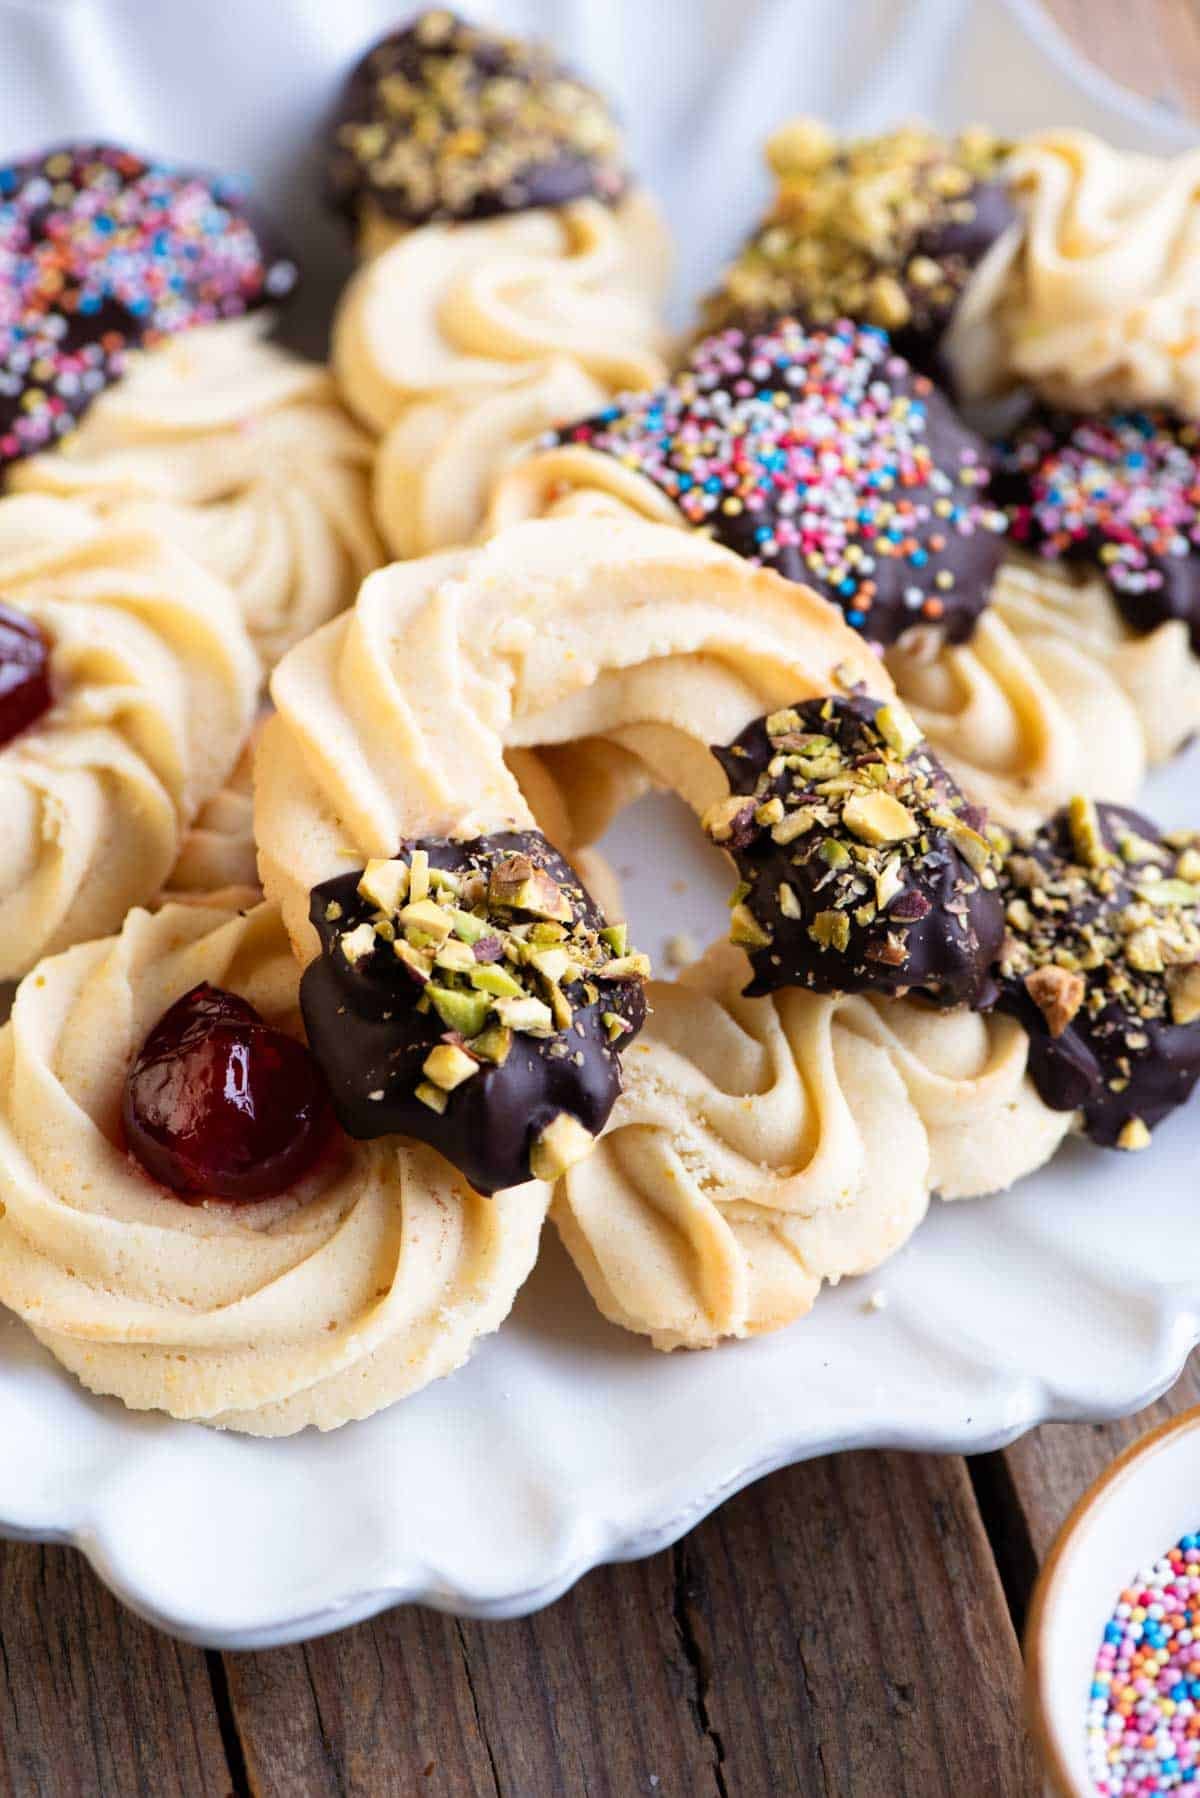
The cookie dough is very soft so is piped using a piping bag and a star-shaped nozzle to create beautiful butter cookies in any shape you like from swirls studded with candied cherries to “S” or horseshoe shapes dipped in melted chocolate and decorated with chopped nuts or sprinkles.
See the recipe below including notes on ingredients, step by step photos, tips, variations and a video tutorial. For the full printable recipe scroll to the bottom or click the recipe link below
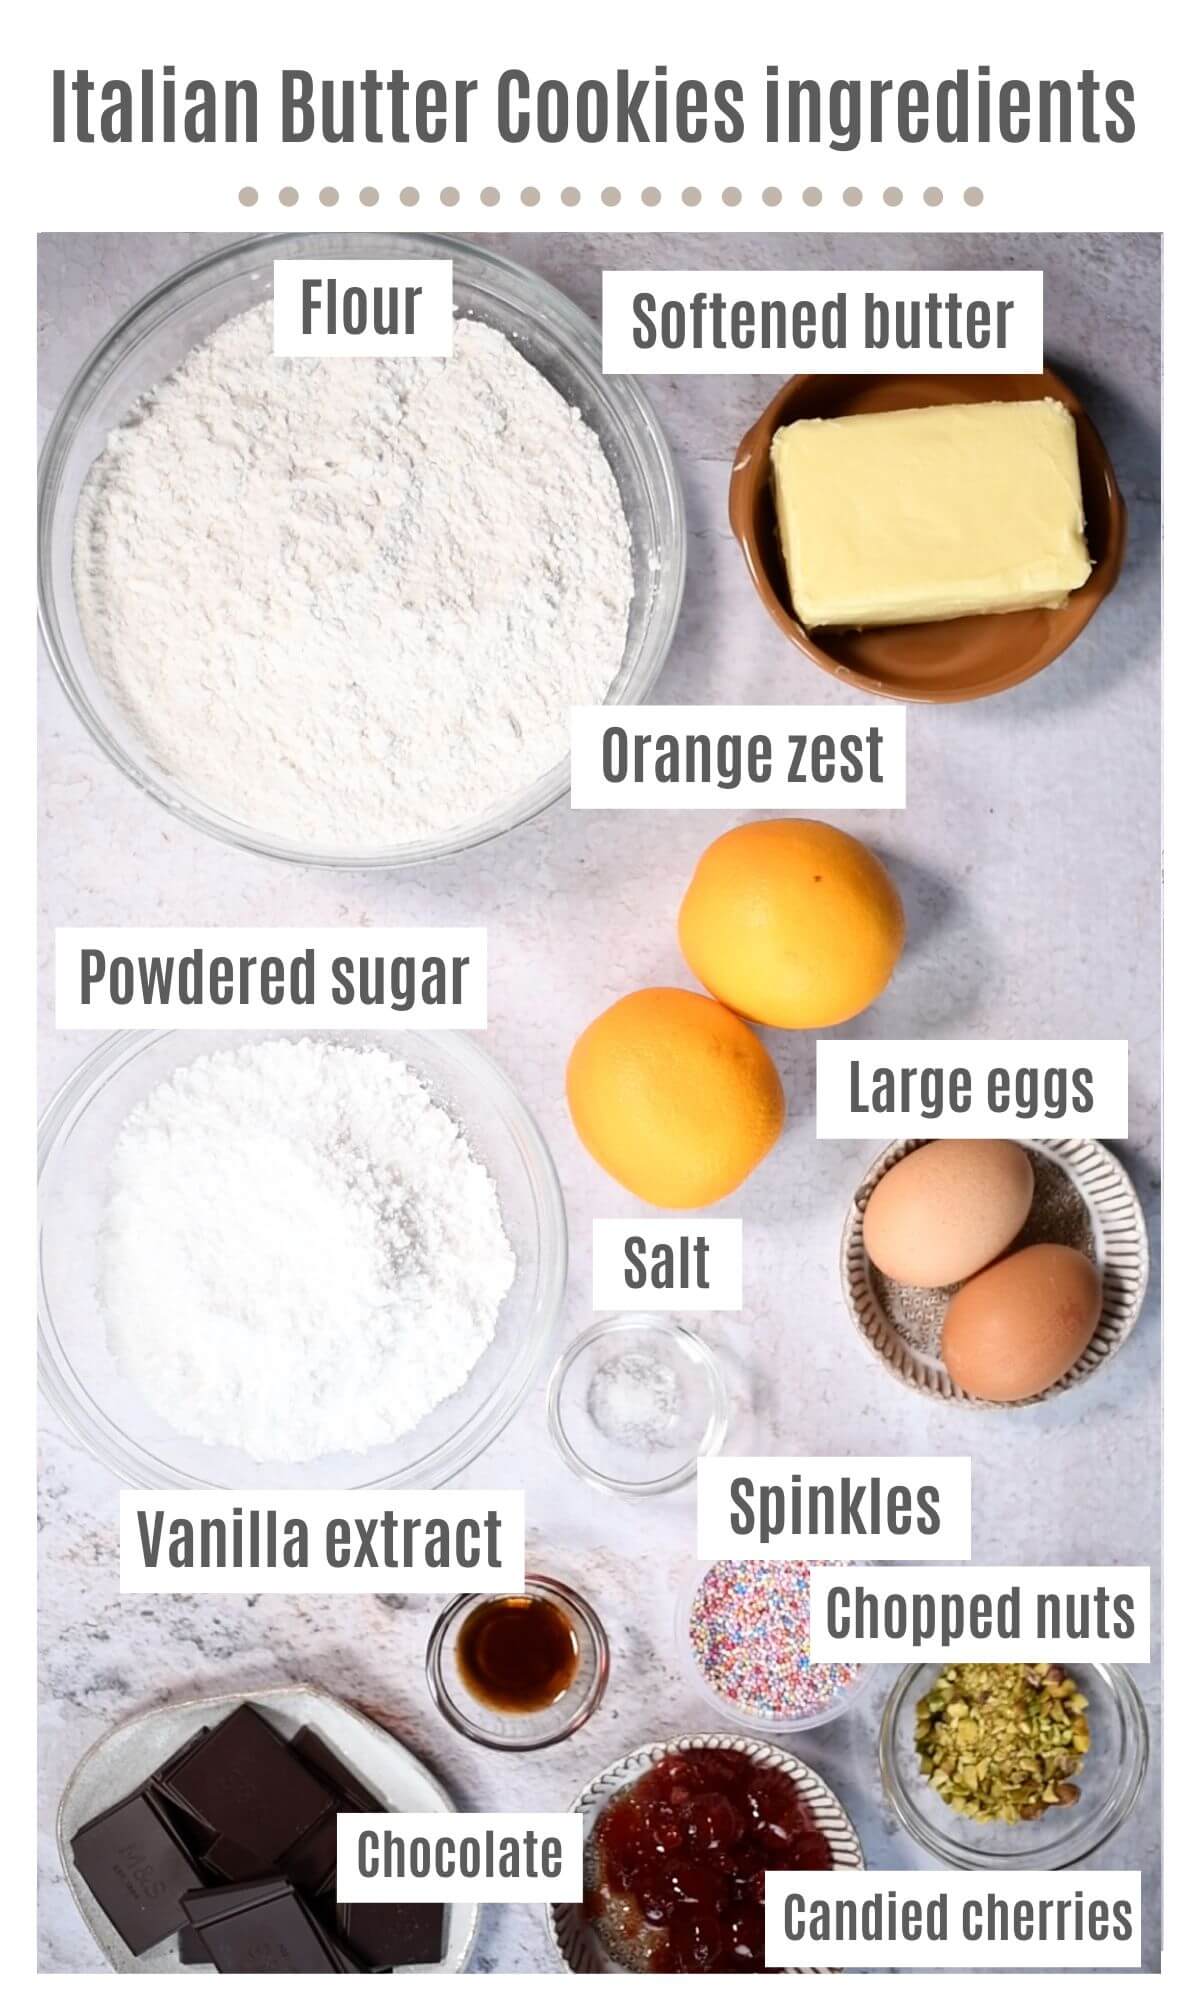
Ingredients
Pin this now to find it later
Pin ItIngredient notes and substitutions
- Butter – the butter needs to be softened at room temperature and always use unsalted. Is your butter still cold? check out our method for softening butter quickly.
- Flour – most of the time we use Italian 00 flour for our cookies and cakes as traditionally used in Italy but regular all-purpose flour can also be used.
- Orange zest – We love the orange flavour in these cookies but you can easily substitute it for lemon or leave it out entirely if you don’t want a citrus flavour.
- Vanilla – we use vanilla extract but you could also use a whole vanilla bean with the seeds scraped out or vanilla bean paste. Don’t use vanilla essence which is synthetic and doesn’t taste great.
- Decorations – you can decorate these cookies with whatever you like. Candied cherries, melted chocolate, chopped nuts and sprinkles are all great options.
Step by step photos and instructions
Line two large baking trays with baking parchment.
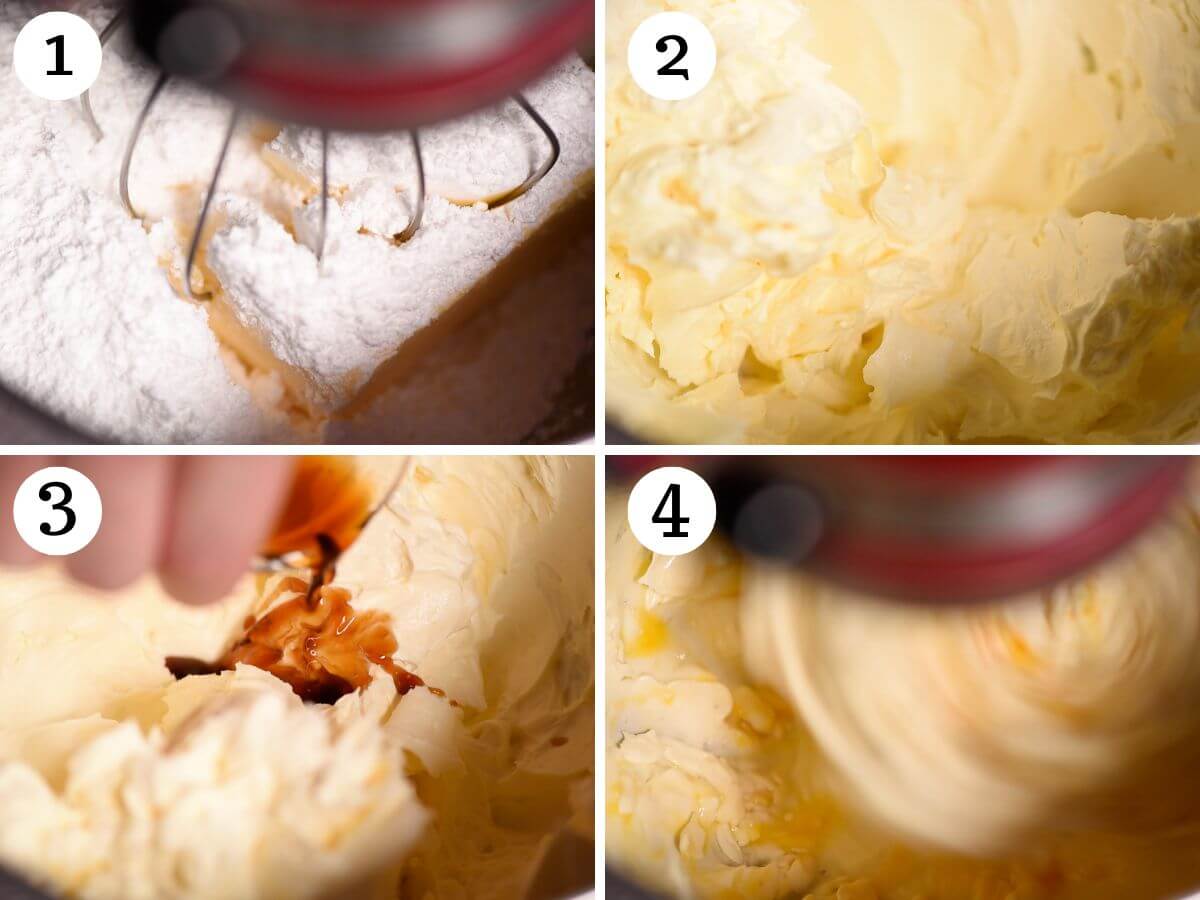
Using a stand mixer or electric hand whisk, whisk the butter and powdered sugar on a medium speed for around 5 minutes until thick, light and fluffy (photos 1 and 2).
Add the vanilla and orange zest then add one egg at a time letting it fully incorporate into the batter before adding the other (photos 3 and 4).
Sift in the flour, use a paddle attachment or continue with an electric hand whisk to combine the flour until fully absorbed (photos 5 and 6).
Fill a piping bag fitted with a star nozzle with the cookie dough (it should be quite soft). Pipe different shaped cookies on the baking trays making sure they are at least 1cm/1/2inch apart. You can pipe circles, U or S shapes, straight cookies, hearts etc (photo 7).
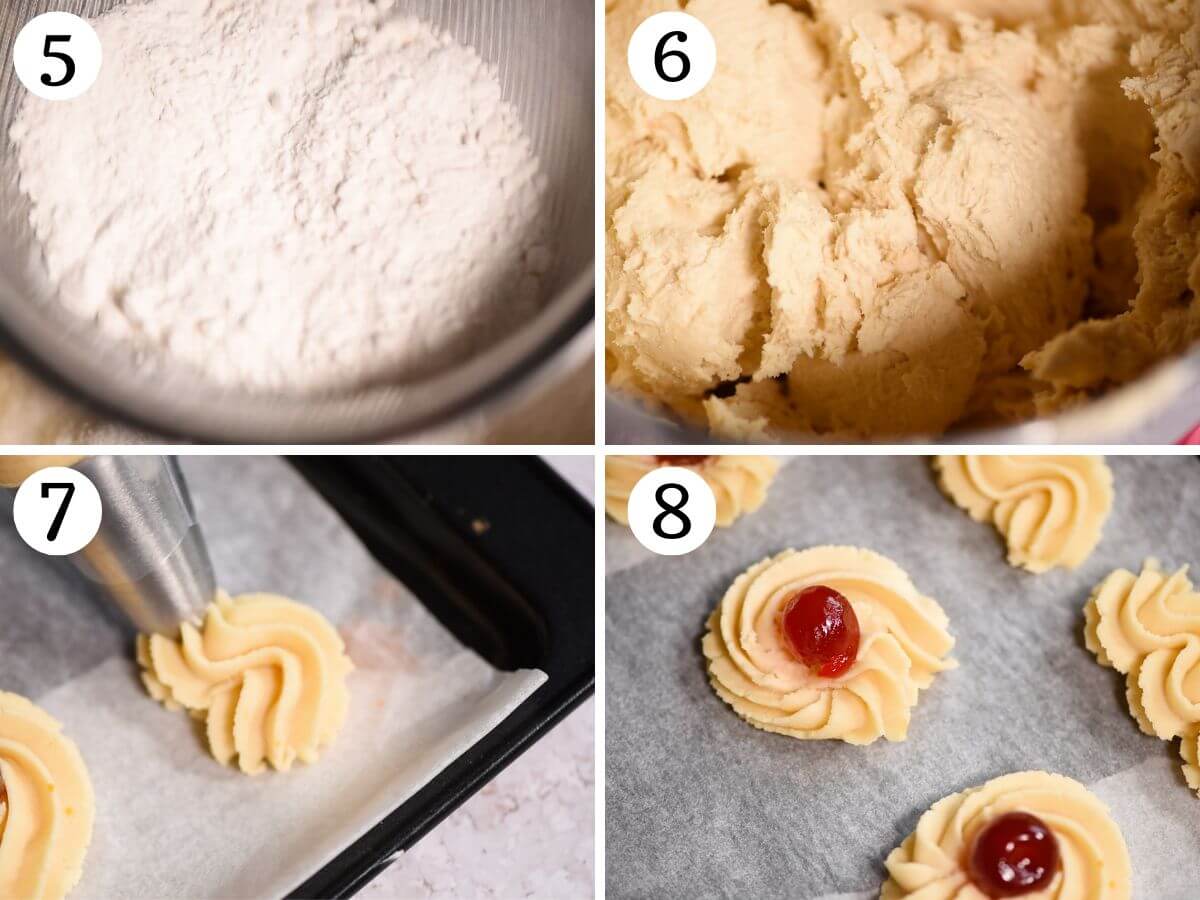
If adding candied cherries or whole nuts to the cookies do so now. Place the cookies in the fridge for 30 minutes (photo 8).
Preheat the oven to 350F (180C). Bake the cookies one tray at a time on the middle shelf of the oven for 10-12 minutes. Let cool then transfer to a cooling rack to cool completely (photo 9).
To decorate
Melt your chocolate of choice, dark, milk or white in a bain-marie (heatproof bowl above a pot of hot water).
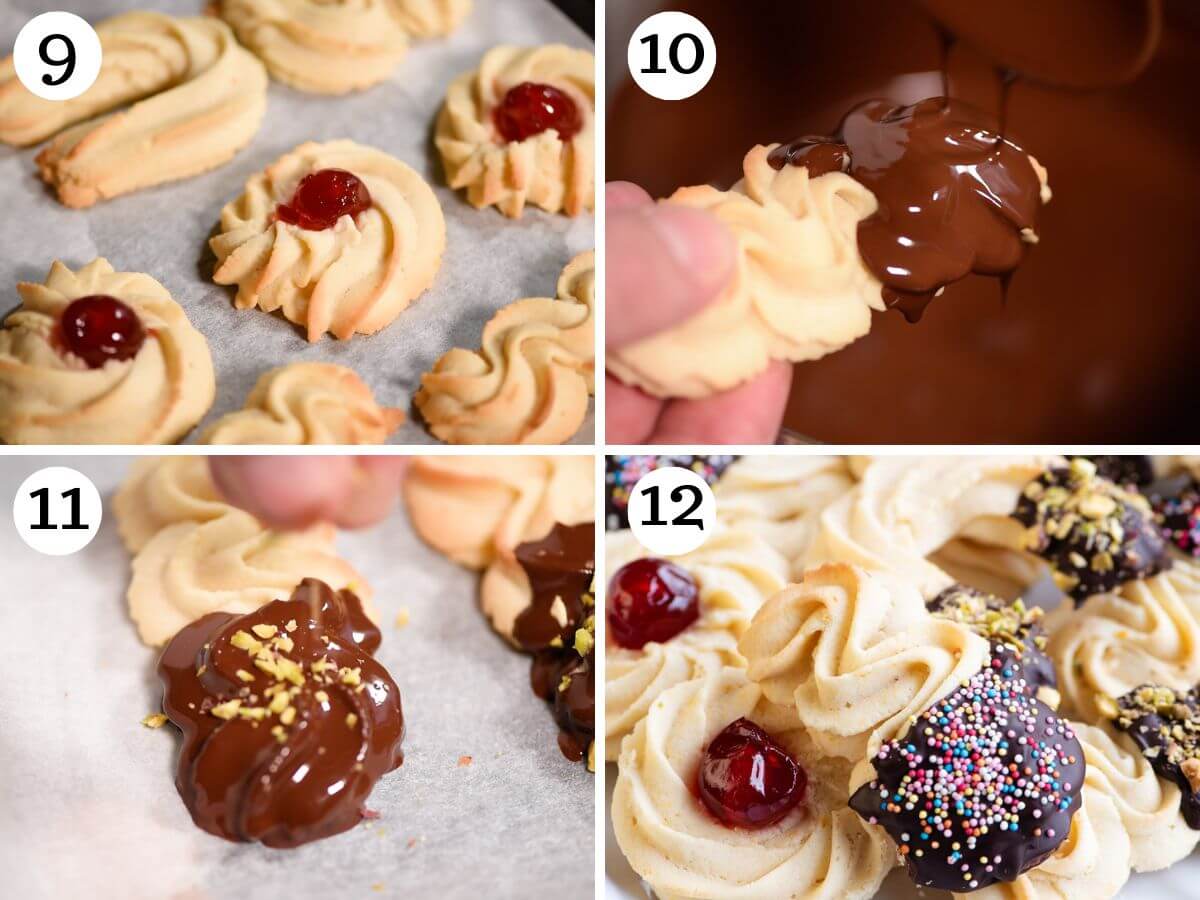
Drip the ends of the cookies in the chocolate or drizzle some over them. Top with chopped nuts or sprinkles and let set on some baking parchment (photos 10-12).
Recipe tips and FAQs
- Weigh your ingredients – as with all recipes that use flour, I highly recommend using a kitchen scale to weigh your ingredients instead of using cups. Flour is notoriously difficult to measure accurately using cups and can drastically affect the end result. A kitchen scale will give you accurate measurements every time (and perfect cookies).
- Use a large piping bag – I recommend using a large piping bag with a star-shaped nozzle since you’ll be working with a large amount of cookie dough.
- Star-shaped nozzle – this is what we used to create the beautifully shaped Italian butter cookies you can see in the photos but you can experiment with different shapes and sizes.
The cookies will keep well in an airtight container for up to 1 week or more. Alternatively, you can freeze them for up to 3 months.
Flavour variations and decoration
- Citrus zest – we use orange zest which is absolutely delicious especially when the cookies are half dipped in melted chocolate but you can also use lemon or leave the citrus zest out entirely.
- Chocolate Italian butter cookies – to make chocolate cookie dough you can swap 30g flour for 30g cocoa powder (about 3 tablespoons). You can also dip the baked cookies in melted chocolate to make double-chocolate cookies.
- Chopped nuts – after dipping the cookies in melted chocolate sprinkle over some chopped pistachios or hazelnuts (both are delicious).
- Sprinkles – choose your favourites and go with the season e.g Christmas sprinkles or Valentine’s sprinkles.
- Candied cherries – place candied cherries in the middle of round shaped butter cookies before baking.
- Shredded (desicated) coconut – dip in chocolate then coconut.
- Extracts – you could swap the vanilla for almond extract or even orange or rum.
More delicious cookies to try
Christmas
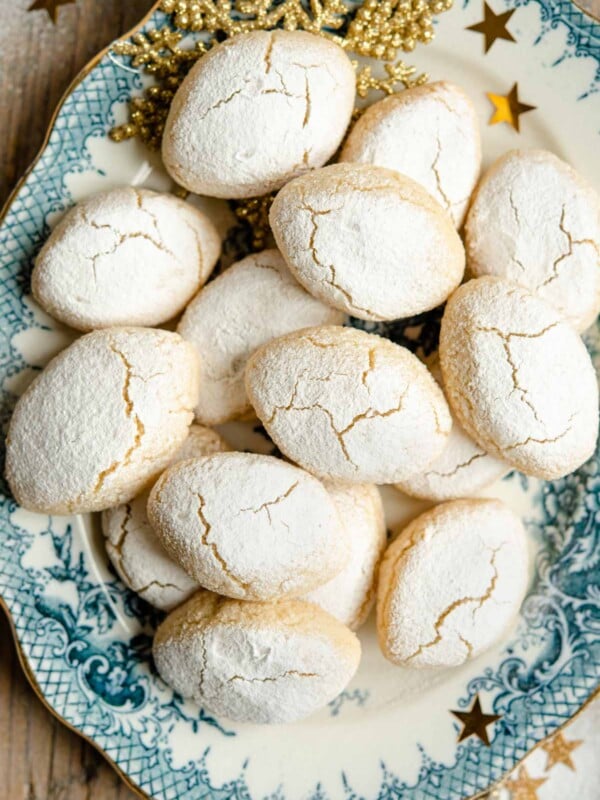
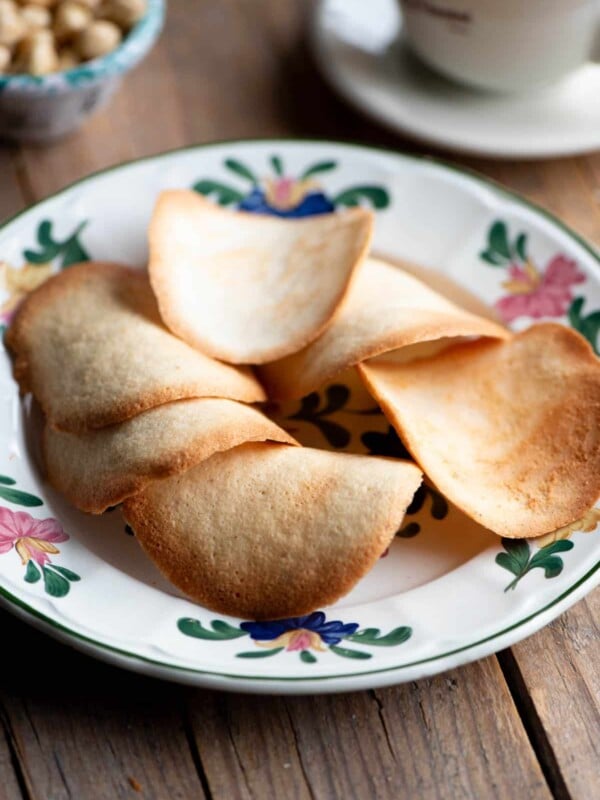
Italian Almond Cookies (Ricciarelli)
Italian Cookies
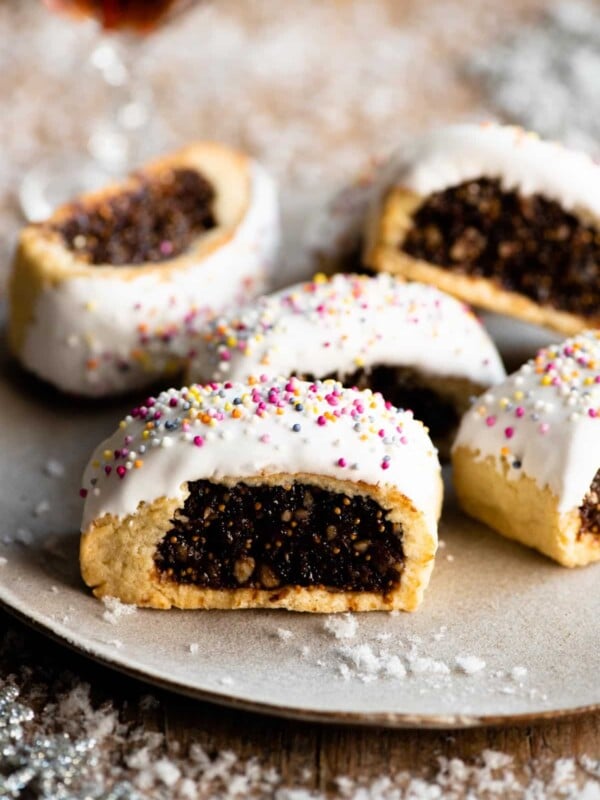
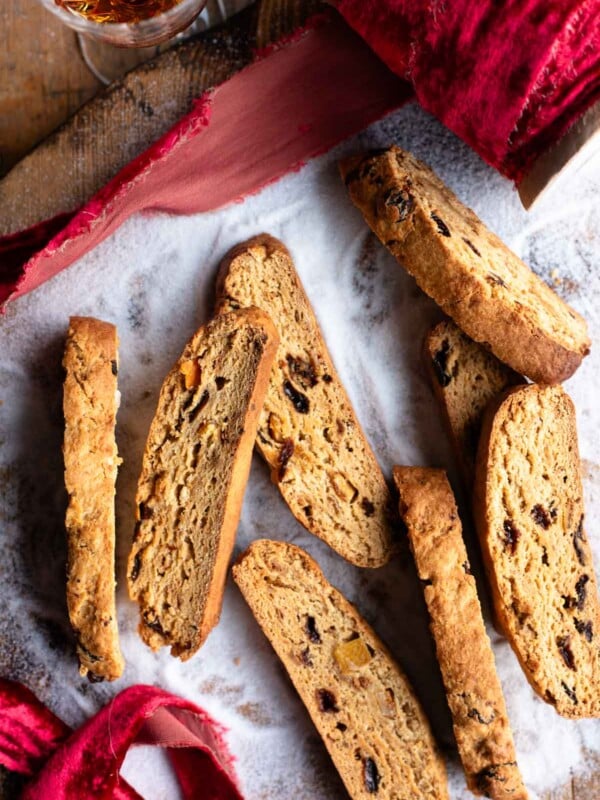
Cuccidati (Italian Fig Cookies)
Italian Cookies
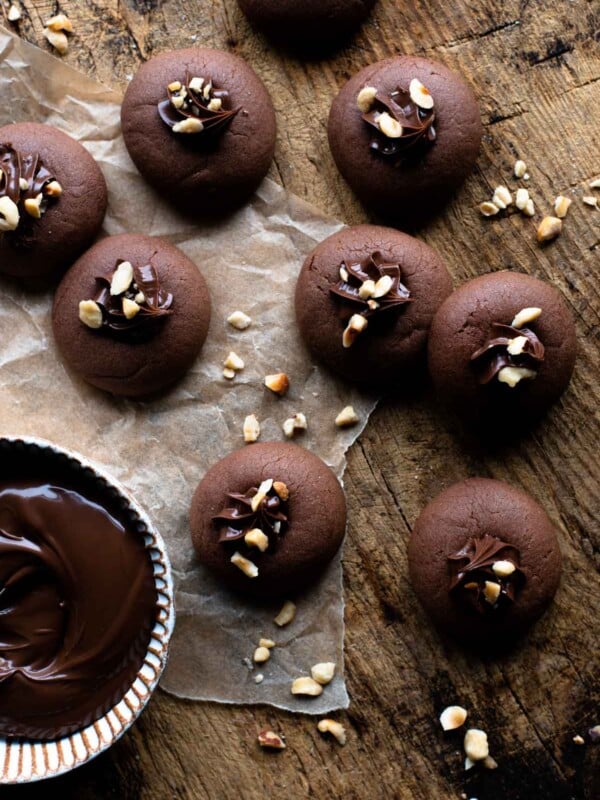
Italian Nutella Cookies (Nutellotti)
Italian Cookies
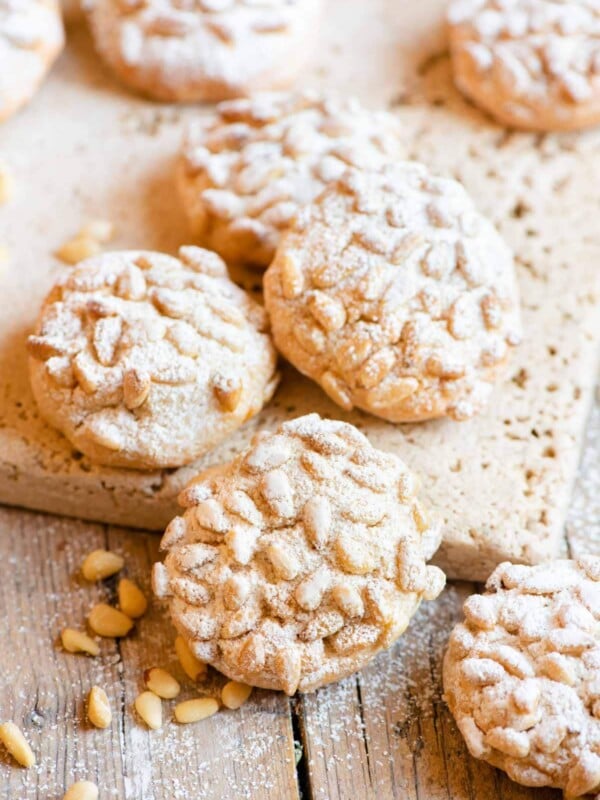
Pignoli Cookies (Biscotti ai Pinoli)
If you’ve tried these Italian Butter Cookies or any other recipe on the blog then don’t forget to rate the recipe and let me know how you got on in the comments below, I love hearing from you! You can also follow us on Facebook, Instagram and Pinterest or sign up to our Newsletter to see more of our delicious food.
Step By Step Photos Above
Most of our recipes come with step by step photos, helpful tips and tricks to make it perfectly first time and even video!
Italian Butter Cookies

Equipment
- Stand mixer with whisk and paddle attachments or electric hand whisk
- Two large baking trays
- Baking parchment
- Piping bag with a large star nozzle
Ingredients
- 500 g Italian 00 flour or all-purpose flour, 3 and 3/4 cups
- 200 g powdered sugar, 1 and ⅓ cup
- 300 g unsalted butter, softened at room temperature (10.5 oz)
- 2 large eggs, at room temperature
- Zest of 2 oranges
- 2 teaspoons vanilla extract
- 1 pinch fine salt
Decoration options
- Candied cherries
- Whole nuts such as almonds or hazelnuts
- Chopped nuts such as hazelnuts or pistachios
- Melted chocolate, dark, milk or white
- Sprinkles
Instructions
- Line two large baking trays with baking parchment.
- Using a stand mixer or electric hand whisk, whisk the butter and powdered sugar on a medium speed for around 5 minutes until thick, light and fluffy.
- Add the vanilla and orange zest then with the stand mixer on medium-low add one egg at a time letting it fully incorporate into the batter before adding the other
- Sift in the flour, use a paddle attachment or continue with an electric hand whisk to combine the flour until fully absorbed.
- Fill a piping bag fitted with a star nozzle with the cookie dough (it should be quite soft). Pipe different shaped cookies on the baking trays making sure they are at least 1cm/1/2inch apart. You can pipe circles, U or S shapes, straight cookies, hearts etc (see photos for ideas).
- If adding candied cherries or whole nuts to the cookies do so now. Place the cookies in the fridge for 30 minutes.
- Preheat the oven to 350F (180C). Bake the cookies one tray at a time on the middle shelf of the oven for 10-12 minutes. Let cool then transfer to a cooling rack to cool completely.
To decorate
- Melt your chocolate of choice, dark, milk or white in a bain-marie (heatproof bowl above a pot of hot water).
- Drip the ends of the cookies in the chocolate or drizzle some over them. Top with chopped nuts or sprinkles and let set on some baking parchment.
Video
Notes
-
- Weigh your ingredients – as with all recipes that use flour, I highly recommend using a kitchen scale to weigh your ingredients instead of using cups. Flour is notoriously difficult to measure accurately using cups and can drastically affect the end result. A kitchen scale will give you accurate measurements every time (and perfect cookies).
- Use a large piping bag – I recommend using a large piping bag with a star-shaped nozzle since you’ll be working with a large amount of cookie dough.
- Star-shaped nozzle – this is what we used to create the beautifully shaped Italian butter cookies you can see in the photos but you can experiment with different shapes and sizes.
- Storage – The cookies will keep well in an airtight container for up to 1 week or more. Alternatively, you can freeze them for up to 3 months.
Helpful Info for All Recipes
- I always use extra virgin olive oil in all of my recipes unless stated otherwise
- When I use canned or jarred tomatoes of any kind I always use Cirio or Mutti brands for the best results and flavour.
- All vegetables are medium sized unless stated otherwise
- All recipes are tested and developed using a fan (convection) oven
- Find out more about how nutrition is calculated.
- Check out our must have Italian Pantry Staples.
- You can also find all our Essential Kitchen Tools for Italian Cooking.
Nutrition
Nutrition information is automatically calculated, so should only be used as an approximation.


These look amazing and relatively easy! Can’t wait to add these to my Christmas baking list!! We love your recipes so much! Grazie mille!!